Blue River Table
This river table is the first of its kind. I have done several others but none with these dimensions or all by myself. Most of our projects are done in the big shop but as this one was of a smaller size I made it in my small shop.
The process of the Blue River Table.
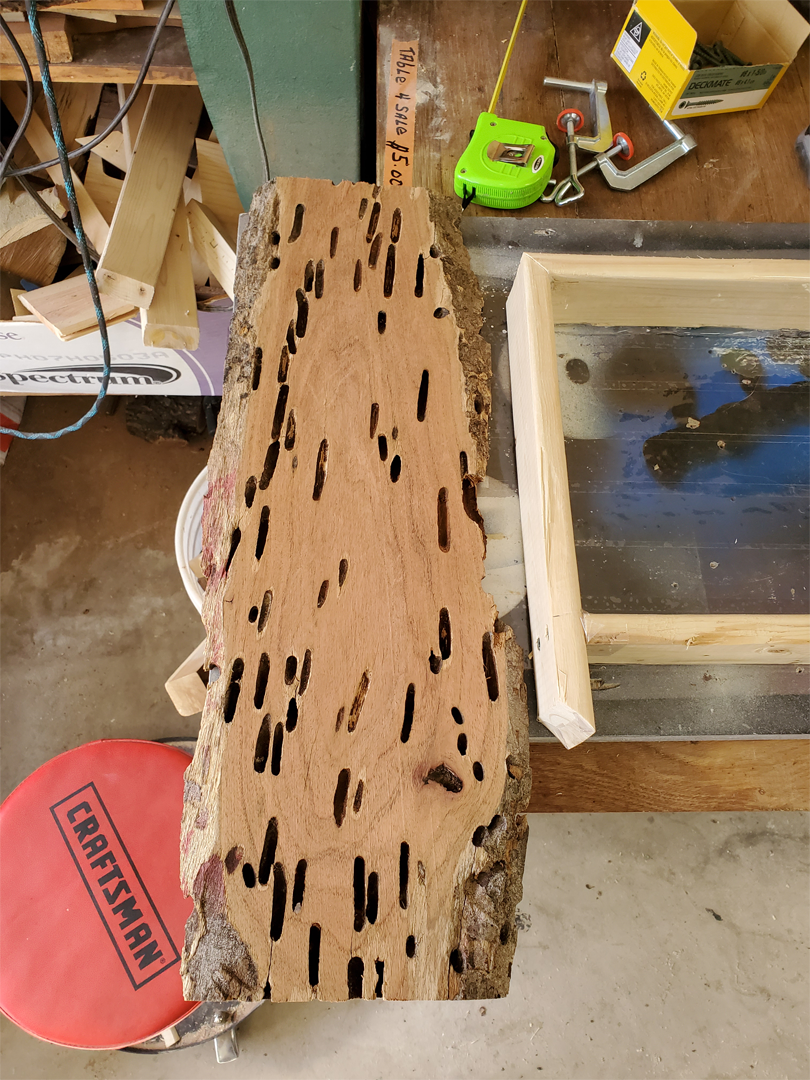
This table was a spur of a moment thought that turned out beautifully. The big shop where most of the projects are done is at my business partner's house (aka my dad's house). My little garage has been set up for finishing touches and picture frames for the pyrography pictures. I found a scrap piece of mesquite that spoke to me thus the table was made.
Most of our tables have been made together as we enjoy the company. I decided to do this one on my own as I was unable to venture out due to the fun year of 2020. The blue epoxy and mesquite are my favorite to couple together as they complement each other so well, bringing out the beauty and brightness of each.
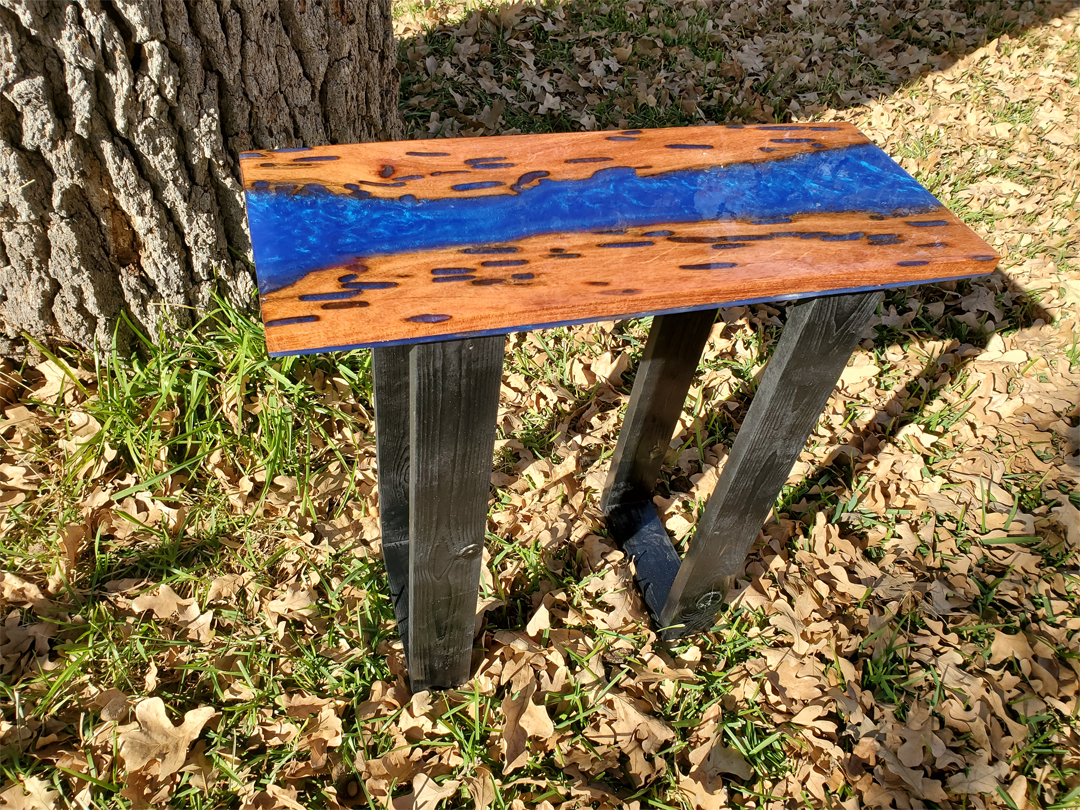
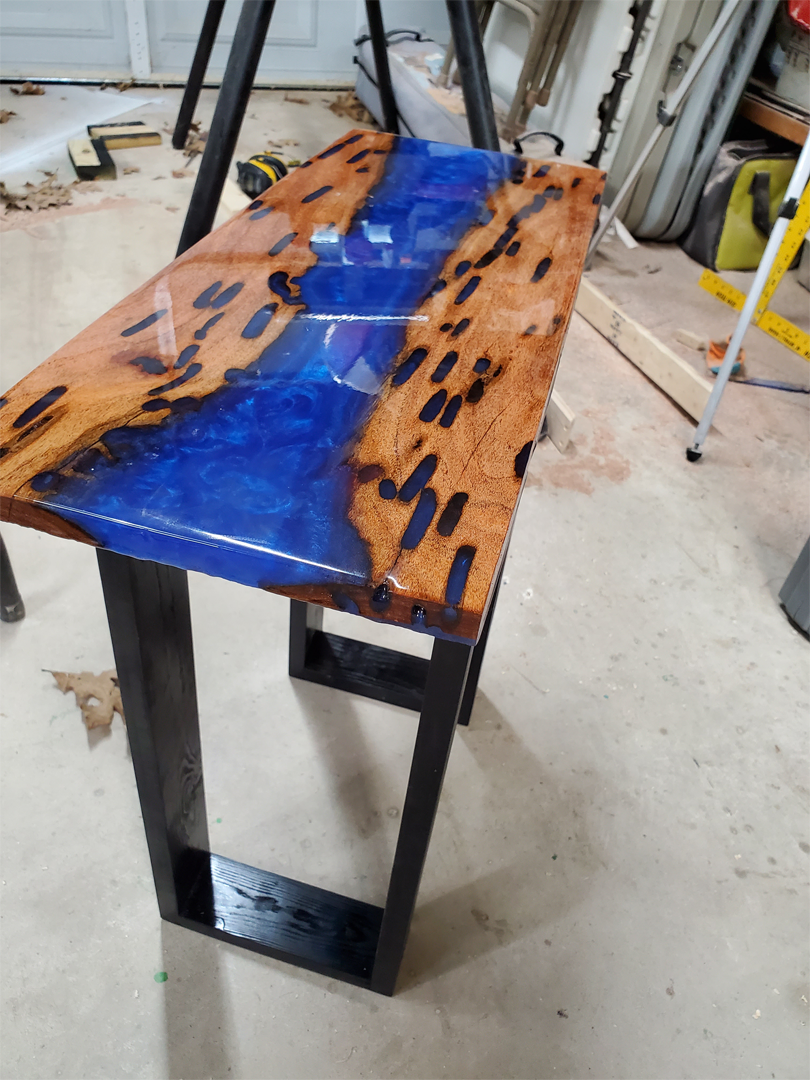
This table's dimensions are 24 inchesx8inx20in After finishing it I discovered it is my absolute favorite project so far with epoxy. I do have a lot of favorites but I love what I do. Enjoy watching the video of the process.


This table was a huge learning experience for me on how to work with epoxy. I had done several smaller tables as in less epoxy. They didn't always turn out very well. The blue on this one was incredible. After watching lots of youtube videos of different techniques and different tips on the best approaches I found the ones I liked the best.
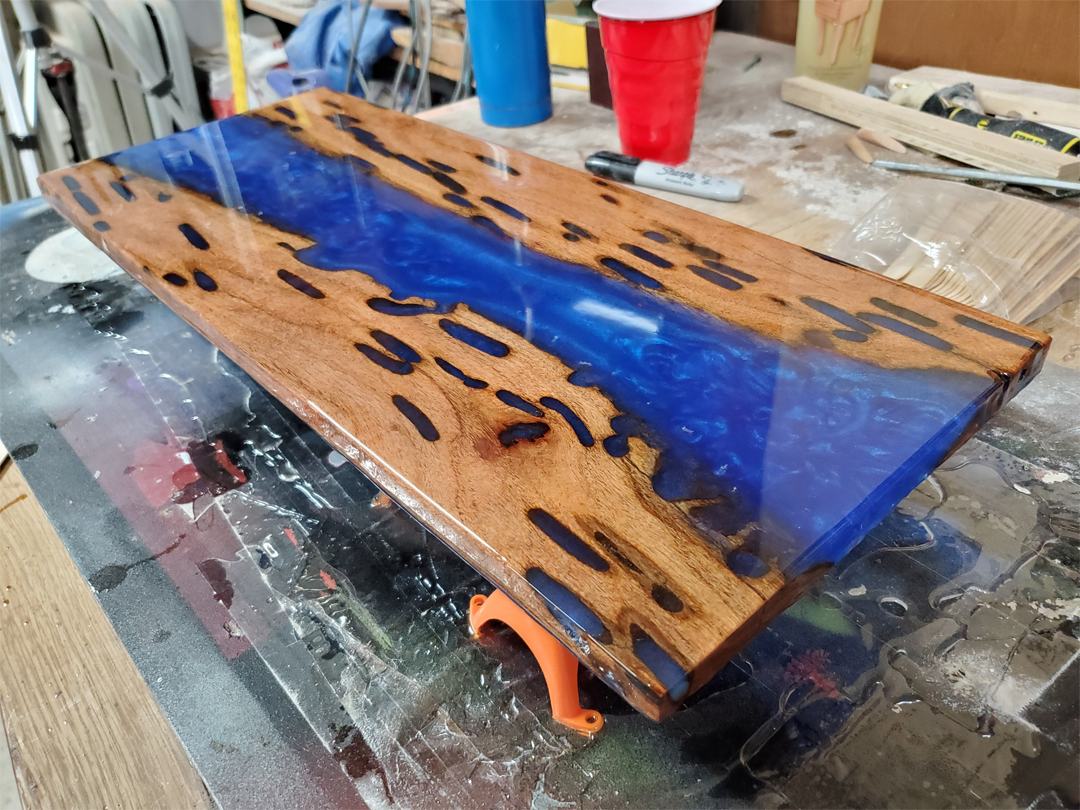
The one part that really set the blue off was the swirls within it. That was accomplished by waiting until the epoxy had started to set. For the type of epoxy that I use it takes about 30 minutes to set up to the point of no return, meaning don't touch it at that point. So at about 20 minutes, I used the popsicle stick to stir up the epoxy to get the glitter to swirl at the top and get the remaining bubbles out before turning and walking away. I have a bad habit of attempting to fix every little problem when they can fix themselves which then, in turn, causes bigger mistakes. That is why I walk away and don't touch it for the next 24 hours to allow it to cure properly. With this one, it worked out for me, I can't always say that is true for all of them.
Starting board to finished clear coat shown below.


